
.png)
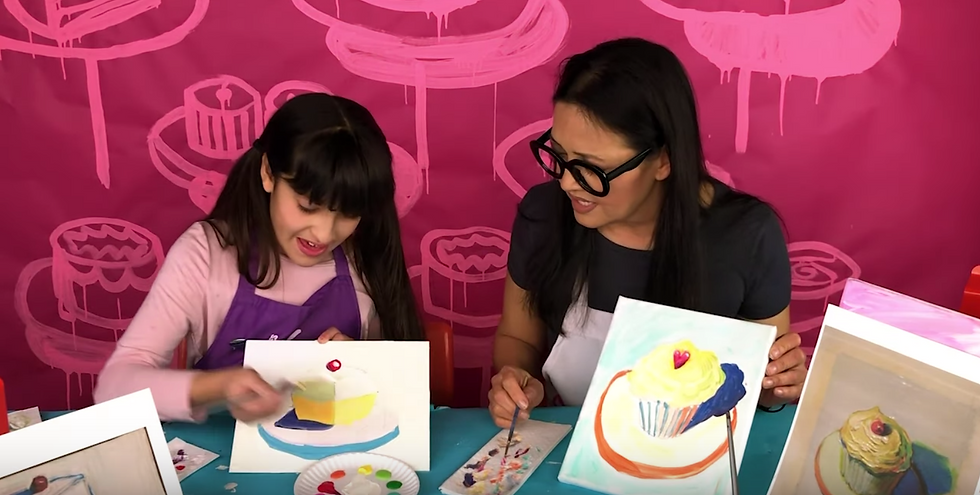
How to Paint Wayne Thiebaud Inspired Cupcake Painting
- Art Classes for Kids

- Mar 27, 2020
- 5 min read
Artists 8+ Can Make This Cool Art!
About the Artist: Wayne Thiebaud

Wayne Thiebaud is is an American painter best known for his still life paintings of edible treats and everyday objects in his singular illustrative style. He drew all kinds of still lifes, from desserts and cakes to shoes and gum ball machines! His style is very distinct. He loves to use lots of colors in interesting ways. In our painting today, we'll be learning how to draw a still life like this with the same style. Wayne Thiebaud is a contemporary artist and is still painting today. He actually has an exhibit out right now with his famous Clown paintings in San Francisco!

What You'll Need
- Canvas
- Acrylic Paints
- Paper plates (for paint palettes)
- Water Jar
- Paint brushes: medium and fine
- Pencil
- Paper towels
Step 1: Draw Your Cupcake
Grab your pencil and decide your layout on your canvas. For this project, you can do either landscape or portrait: it's totally up to you!

Find the middle of your canvas and draw a smile curve, and the two sides of your cupcake. Then, draw the frosting on top of the U shape! It doesn't have to be a perfect circle, and you get to decide how much frosting you have on your cupcake. The bigger the circle, the more frosting you'll paint!

Then, we'll add some details. You can make your circle wavy around the edges to represent goopy yummy frosting. Don't forget your cupcake liner! The line in the middle of the wrapper will be perfectly straight, and the others will be slightly diagonal. This helps us convey perspective.
Next, we'll add the shadow. You'll see in Wayne Thiebaud's original painting the shadow is to the right, so let's add it that way. (If you want to add it to the left, you can do that too!) Draw a general outline of what a shadow might look like over to the right of the cupcake, with a straight bottom and wavy top - just like how your cupcake is drawn.
PRO TIP: Wayne Thiebaud sparingly uses black in his paintings. You can see on the original his shadow is a blue-violet color. You can use blue, violet, or any other dark color to paint your shadow later.
Finally, let's add decoration on top! You can do a cherry, sprinkles, a heart candy, a gummy bear... whatever YOU love to put on your cupcakes, add it to your cupcake here!
Step 2: Draw the Plate

Great job! You've finished drawing your cupcake, now let's draw the plate it's sitting on. This can be a little tricky because, again, we're drawing this to make sure we keep our perspective the same. Go to the side of the frosting and make a small mark on either side of the cupcake. Then, you'll draw a big curve that starts at one end, goes underneath the cupcake, and connects to the other end.
PRO TIP: You can use your eraser to outline the plate before actually drawing it. Sometimes it's easier to try to draw a big line with your eraser and if you don't like it, just brush the crumbs away. But if you do like it, then it makes it easy to draw over the eraser crumbs with your pencil to follow that line.
Once you've drawn your plate, let's add the edge. Add another circle that gets thinner on either side of the plate, and you'll have the edge drawn. Ta da! You're done with the drawing. Don't forget to write your name, date, and "Inspired by Wayne Thiebaud" on the back! That way you can remember!
Step 3: Paint the Cupcake

You'll need a lot of colors, but heres what we recommend for squeezing out paint on the palettes. We'll be mixing a lot of paint, so pour a lot of colors but only a little bit of each. Make a palette with a lot of white. We'll be using a lot of white today!
First, let's start with our big brush and do the cupcake base. First start with white, then pick your color to paint over. This will help us get that mixy color look that Wayne Thiebaud uses. Make sure to use more color on the side where the shadow is, and less of your color where the sun is shining.
PRO TIP: Wayne Thiebaud's brush strokes show in the painting, so it's okay if yours do, too! We like the blended, mix look for this painting.
Then, let's do the same thing on the cupcake frosting. Let's fill it in white, then add your frosting color, and fluff it all inside your cupcake line. You want to make it look like the texture by swirling your color around. Then, add some lighter areas with white. Add a little bit of a darker color on the shady side where the shadow is.
Finally, let's do your decoration on top! Make sure to add a little bit of white where it's lighter and a darker color where it's darker on the shady side.
Step 4: Paint Details

First, let's add some lines to our cupcake wrapper. Find a color you like that's different from your wrapper color and, using your fine brush, add lines in between so that the wrapper looks ridged. Don't forget- it's okay if the colors blend together a little bit!
Next, let's paint the plate. Start by painting your entire plate white (except the shadow you drew earlier) with your big brush. Make sure you go quickly so that it doesn't dry up! Next, let's find a color that we like for the edge.
PRO TIP: Wayne Thiebaud loves using BRIGHT colors in his paintings. Even though from far away it looks mostly white, if you look up close, there's a lot of colors in his brush strokes! He loves using bright colors on the edges of the subjects of his paintings, which he calls "halos." Pretty neat, huh?
Now, let's paint the edge of the plate with that bold color you like. Start skinny on the sides and make the edge a little thicker toward the bottom of the canvas.
Step 5: Paint the Shadow

Remember: Wayne Thiebaud uses black sparingly, so let's find a cool dark color other than black for our shadow. We're going to use our dark color to paint in the shadow that you drew earlier, even over the plate. It can be streaky - that's okay! A blendy shadow is totally okay for this project. You can even blend together a couple of dark colors for your shadow.
Step 6: Paint the Background
We're almost done! Let's start just like how we did all the other steps and paint the whole background white. Use your big brush and LOTS of white so that it paints over any pencil lines you may still have. Then, you can add a tint of color to your background if you want. If you add a color, you want it to be very pastel. Since the background of this painting is the table, it'll all be the same color.
Step 7: Add the Halos

For that final Wayne Thiebaud touch, we're going to add those super thin, brightly colored outlines he called "halos." Use ALL of your colors on your palette for this step! First, start with your darkest color and add outlines to your detail on your cupcake. Then, add any color you want as an outline to everything on the painting: the plate, the cupcake, details in your frosting, and even the shadow.
PRO TIP: you can blend colors INSIDE your lines! Practice starting an outline green but then maybe blend in red. You can even get mixy with these halos!
These colors really make this still life POP off of a pastel background!
The Final Product!


Comments